How To Clip Orthomosaic and Digital Elevation Model to Area of Interest (AOI)
- Once photogrammetric processing has completed, the digital elevation model will be available.
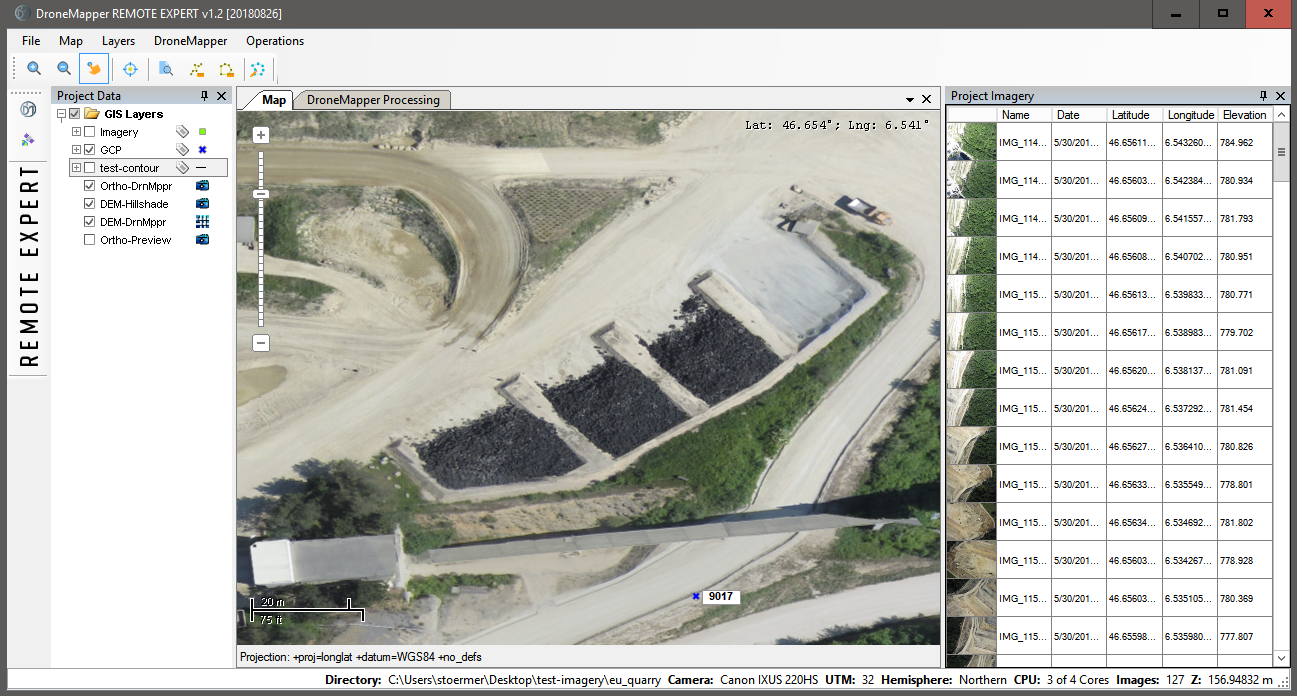
- You can select an Area of Interest (AOI) using either the Digital Elevation Model or the Orthomosaic layer. Navigate to the “Create AOI” tool and click to begin drawing your AOI.
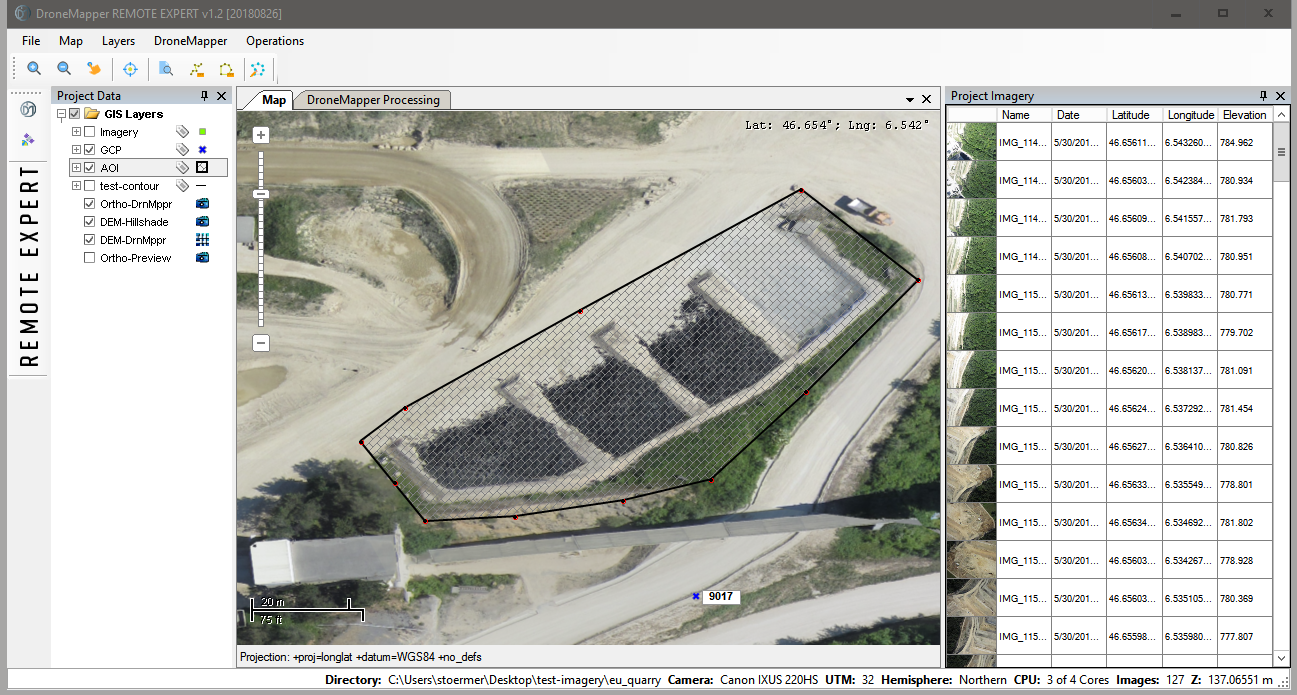
- Using the “Left” mouse button, click each point to draw a polygon around the AOI. To close the polygon and stop drawing click the “Right” mouse button. The newly created AOI will look similar to the graphic below:
- Once you have completed the creation of a new AOI, it is saved as a temporary shapefile and you can proceed to raster clipping. Navigate to the “Operations” menu and choose “Raster Clipper”. You are presented with the following options and dialog box:
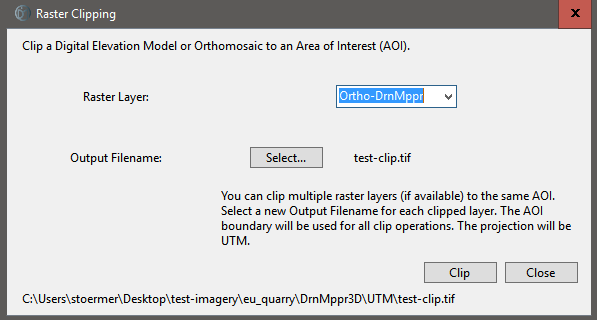
- You can choose which available layers you’d like to clip to a smaller AOI. The AOI you created will be used for each of the clipping operations. You will also need to choose a filename to save the newly created GeoTIFF files.
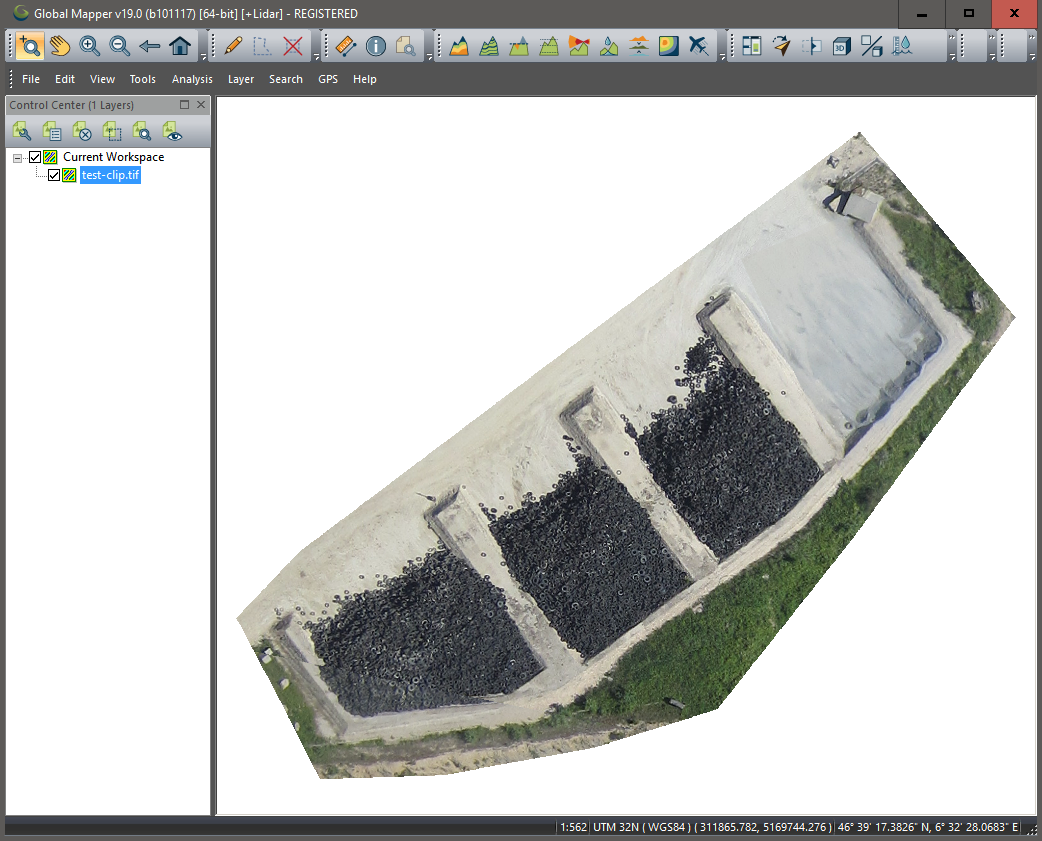
- Once you are happy with the options, click “Clip”. You will see a dialog informing you the operation was successful. Navigate to the newly created GeoTIFF location and view the results in a GIS program such as Global Mapper or QGIS3D:
https://dronemapper.com