DroneMapper RAPID Quick Start Guide
NOTE: RAPID is no longer just for DJI sensors. You can now process up to 150 images from any UAV platform and camera sensor!
The full software operating manual can be found here: https://dronemapper.com/software/DroneMapper-Instructions.pdf
- Copy overlapping aerial imagery to a new folder on your desktop. Example: “eu-quarry”
NOTE: RAPID is limited to 150 images. Processing imagery on USB, external HD, and/or network drives is not recommended.Do not process imagery on an external USB stick, network drive or dropbox type folder — it will result in very slow performance. The software benefits from fast local disk / SSD drive. - Launch DroneMapper.exe, choose the “File” menu and click “Open JPGs” — choose your imagery folder.

- Up to 150 images can be loaded per project in the free version.

- Click the “DroneMapper Processing” tab and the “Play” button under “PREVIEW” to begin.

NOTE: A filled circle indicates the step has completed. A circle outline indicates the step is in progress.
A circle with a center dot indicates the step has not executed yet.

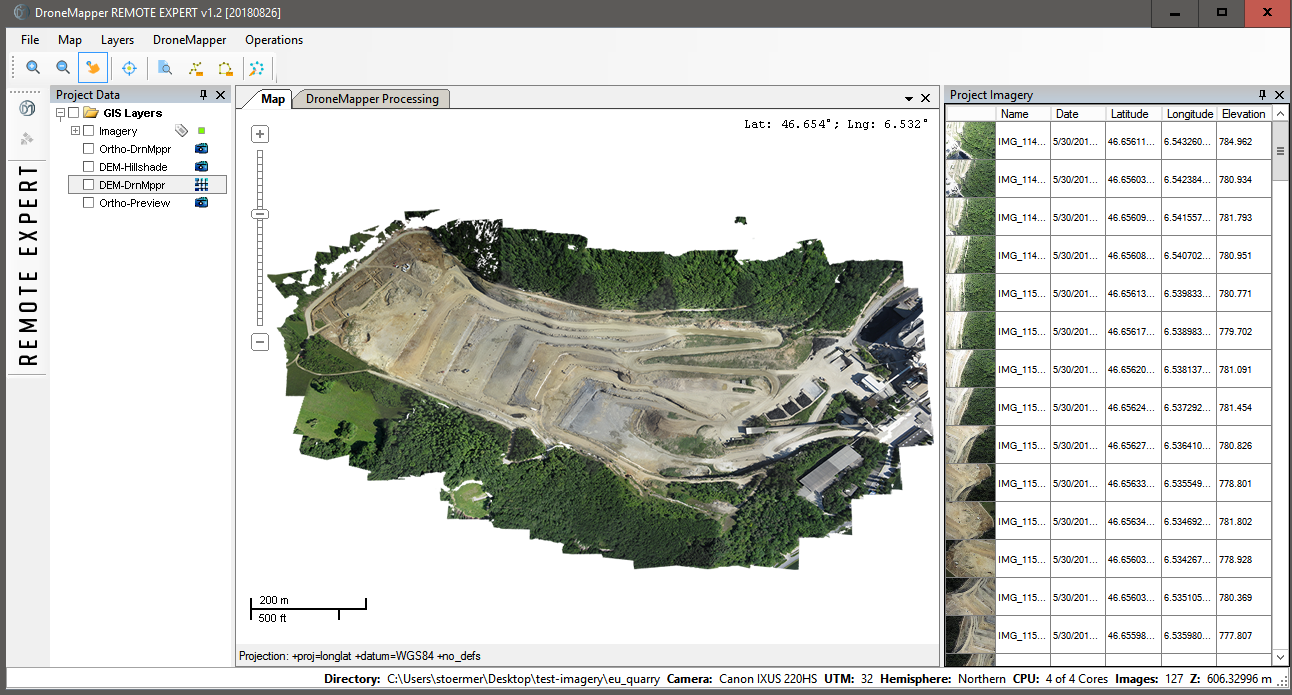
- Once “PREVIEW” processing is completed, all circles are filled, times are recorded and the Orthomosaic is added to the “Map” tab.

At this point you can choose a map base layer if you’d like to check geo-reference:

The Orthomosaic preview is in WGS84 Lat/Lon projection and stored in the DrnMppr3D folder.
- Click the “DroneMapper Processing” tab and 2nd “Play” button to start DEM generation.
 The completed Digital Elevation Model is added to the “Map” tab. The raw GeoTiff file is located in the DrnMppr3D folder.
The DEM and Orthomosaic can also be viewed in GIS programs like Global Mapper.
- Click the “DroneMapper Processing” tab and 3rd “Play” button to start Orthomosaic creation.
The Orthomosaic is added to the “Map” tab once completed. It is also stored in the DrnMppr3D folder.You can find the DrnMppr3D\ folder inside the original imagery folder. This folder contains the processed GeoTIFF files in WGS84
Lat/Lon projection.
Please note that DroneMapper RAPID is free. The DEM and Orthomosaic are computed are reduced resolutions and geo-referenced WGS84 Lat/Lon projection. This software application is designed for recent computer hardware (Intel i5/i7) running Windows x64 operating system.
You most likely will be able to get away with processing imagery with much less cross-track and in-track overlap.. so 150 images will cover a much larger area. For example, if you have a data collection with 80%/80% overlap and 300 images — you should be able to remove every other image to reach 150 images and still generate an acceptable scaled DEM and Orthomosaic of the entire area. We’ve tested the application and have success with data collections at 50%/50% overlap (sometimes less)
Have a look at the following video showing REMOTE EXPERT on a small NIR data set: https://www.youtube.com/watch?v=dsfmhp0G8w4
https://dronemapper.com